6 minutes
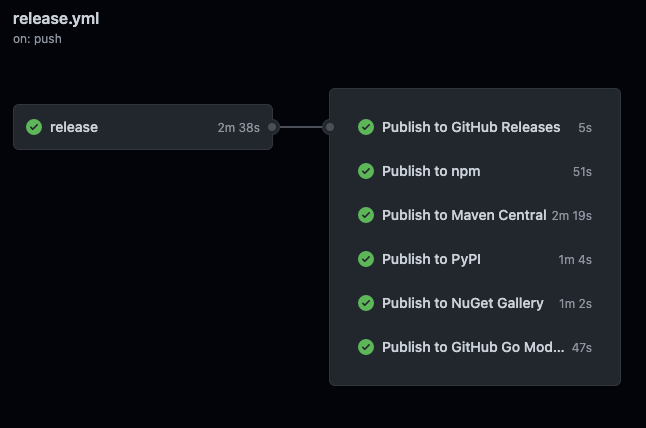
Projen - Publish to all open source repos
Using Projen you’ve run npx projen new awscdk-construct and have created a construct that you want to publish across all open source repos
Let’s go through how we get the necessary accounts and credentials for each of the major open source repos, and set up our Github repo to automatically publish new releases.
Assumptions
- Using Projen
- Using Github
- Github repo is public
NPM
By default, projen is configured to publish to npm, and will do so using the name property within .projenrc.
However you’ll need an NPM_TOKEN secret on you Github repo for the projen generated github workflows to work
Create npm account and generate an Access Token
Navigate to npm and create yourself an account.
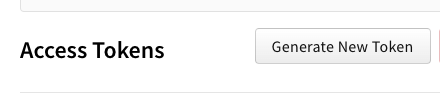
Once logged in, click Access Tokens on the left hand side, and click Generate New Token
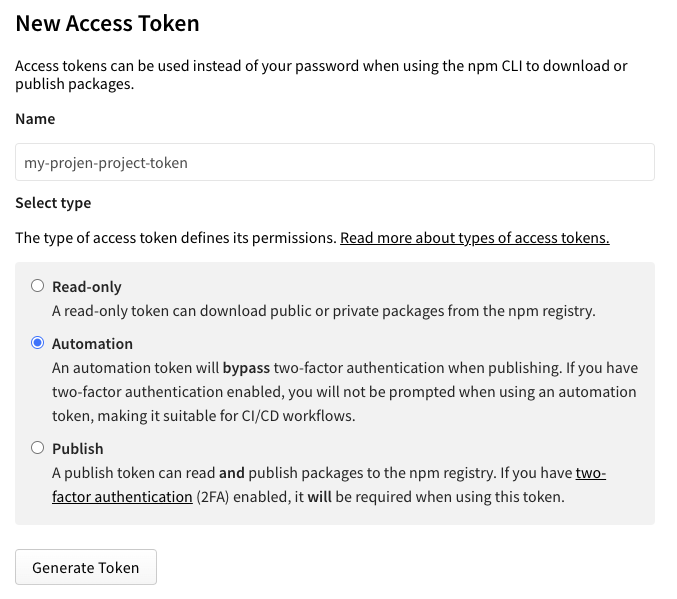
Create a name for your token to remember what it’s used for, select the Automation type, then click Generate Token
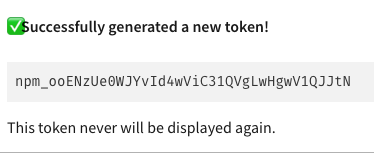
The new token will be displayed (the token shown has already been deleted)
Add npm token to Github project secrets
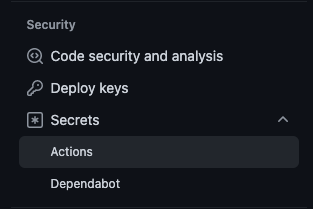
Click into your repo Settings, and open Secrets for Actions
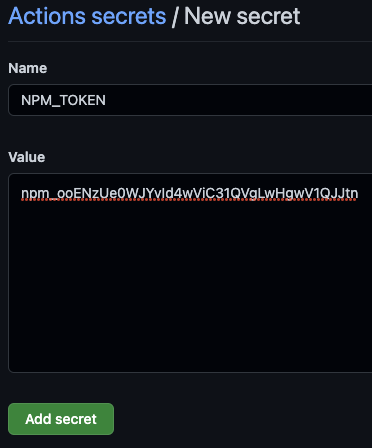
Click New repository secret, and create the NPM_TOKEN secret with the token just generated in npm (the token shown has already been deleted)
More details found in the publib README
Pypi
In .projenrc add the publishToPypi property to your project
const project = new awscdk.AwsCdkConstructLibrary({
  // other properties left out
  publishToPypi: {
    distName: 'name-of-project',
    module: 'name_of_project',
  },
});
Create Pypi account
Navigate to Pypi and create an account.
Once logged in, select Account settings, scroll down to API tokens and click Add API Token
Give your token a name you’ll remember, and select Entire account for scope. Click Add token
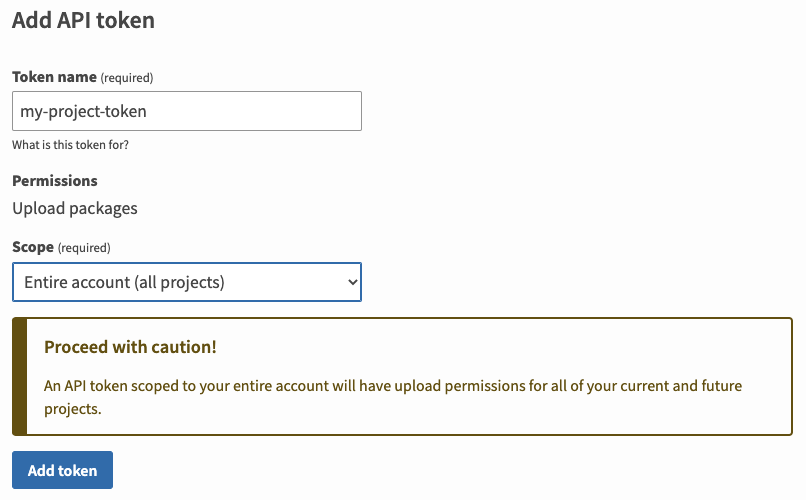
We use the Entire account scope because the package hasn’t yet been pushed to pypi. Once you’ve made a successful push, you can generate a new token that is scoped to your specific project.
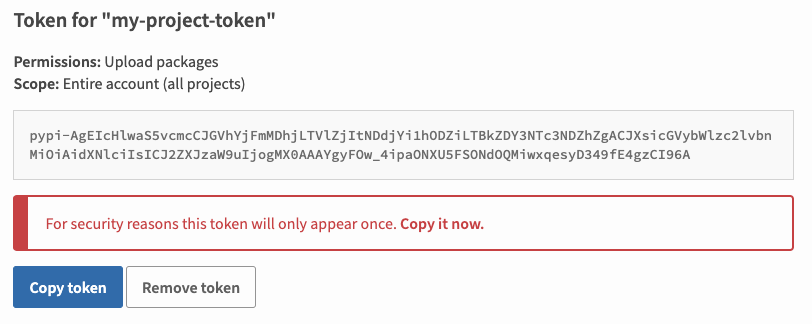
Once created you’ll see your token (the token shown has already been deleted)
Add pypi tokens to Github project secrets
Back to your Github projects repository secrets, add two tokens
TWINE_USERNAMETWINE_PASSWORD
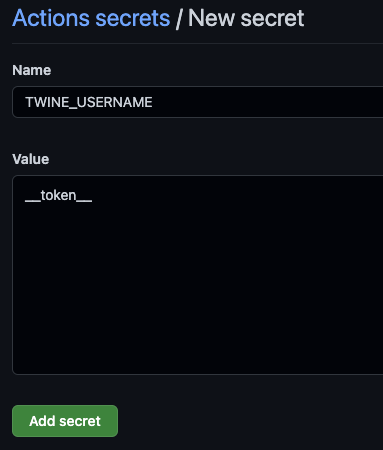
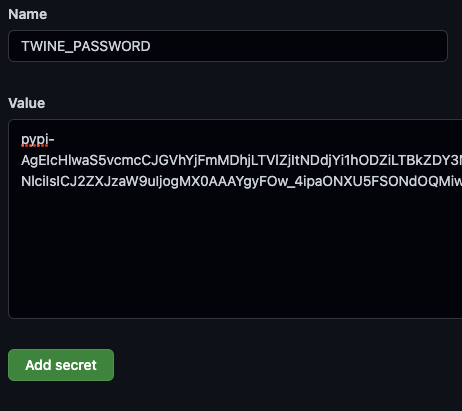
Now you’re ready to publish to Pypi!
More details found in the publib README
NuGet
In .projenrc add the publishToNuget property to your project
const project = new awscdk.AwsCdkConstructLibrary({
  // other properties left out
  publishToNuget: {
    packageId: 'myNamespace.MyProjectName',
    dotNetNamespace: 'myNamespace.MyProjectName',
  },
});
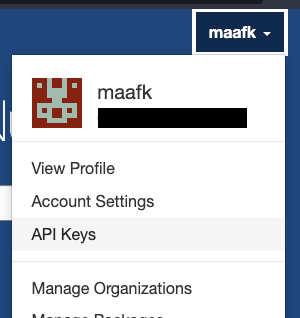
Navigate to NuGet, and register (uses a microsoft account).
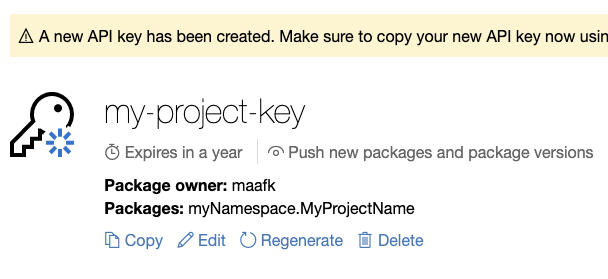
Once logged in, click your username and click API Keys
Expand the Create section, give your key a name, and ensure the scope is set to Push - Push new packages and package versions
For Glob Pattern under Select Packages, limit to the name of the package you’re publishing. Click Create
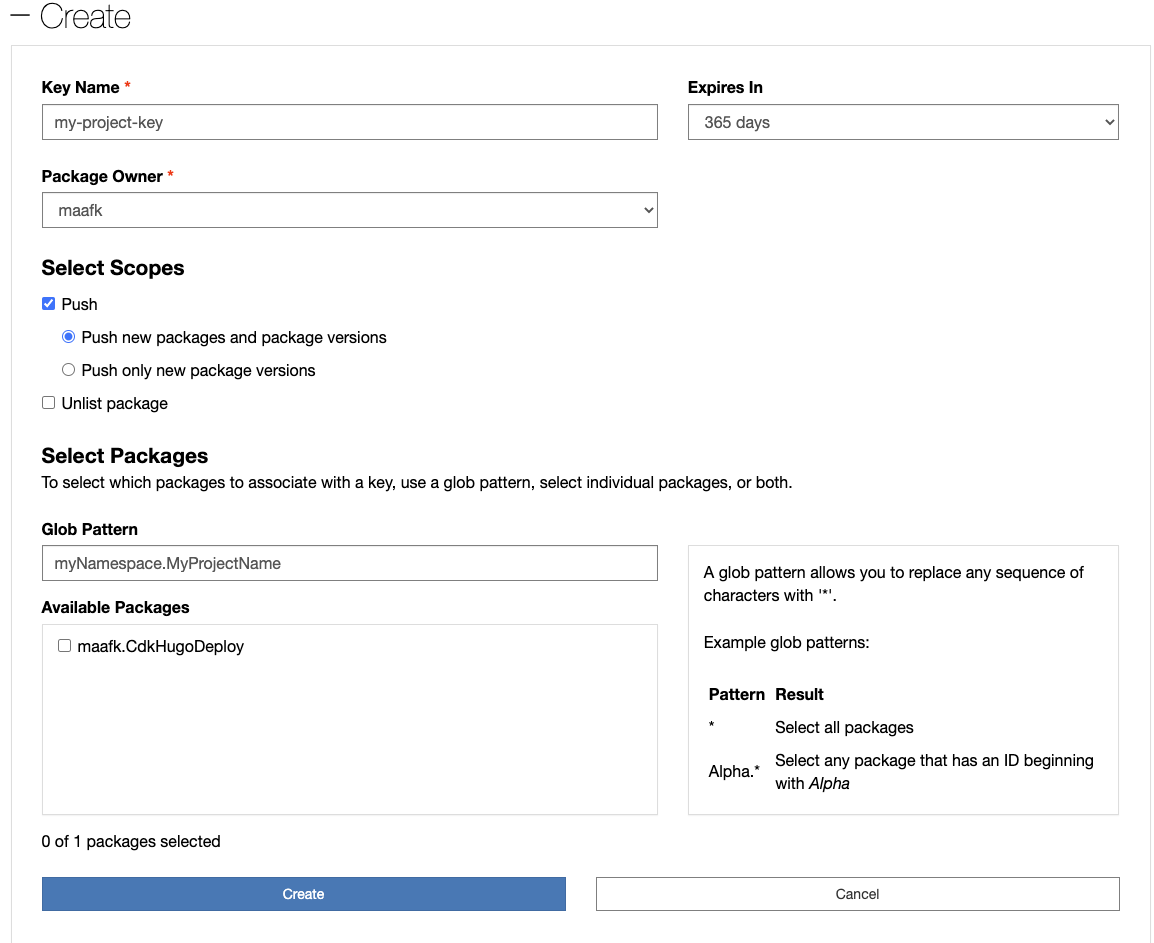
Once created, you’ll be able to copy the key by clicking Copy
Add NuGet tokens to Github project secrets
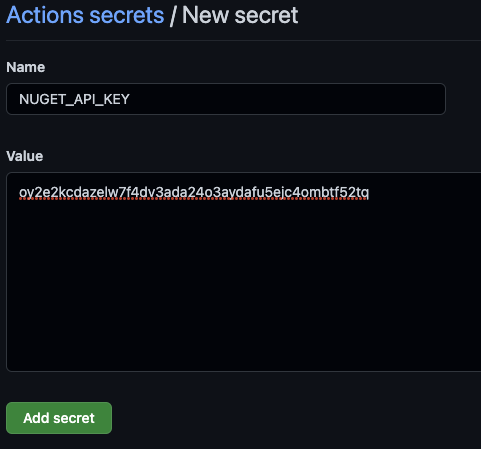
Back to your Github projects repository secrets, add the NuGet api token as NUGET_API_KEY (the token shown has already been deleted)
Now your Github workflow will publish to NuGet!
More details found in the publib README
Maven Central
Registering with Maven Central has the most steps.
In .projenrc add the publishToMaven property to your project
const project = new awscdk.AwsCdkConstructLibrary({
  // other properties left out
  publishToMaven: {
    mavenGroupId: 'io.github.github-username-or-org',
    javaPackage: 'io.github.github-username-or-org.MyProject',
    mavenArtifactId: 'MyProject`',
    mavenEndpoint: 'https://s01.oss.sonatype.org',
  },
});
Substitute github-username-or-org with your github username or org. You’ll see this a number of times
Create Jira account and request new project
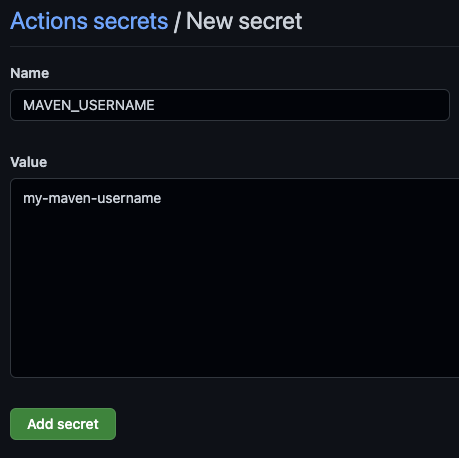
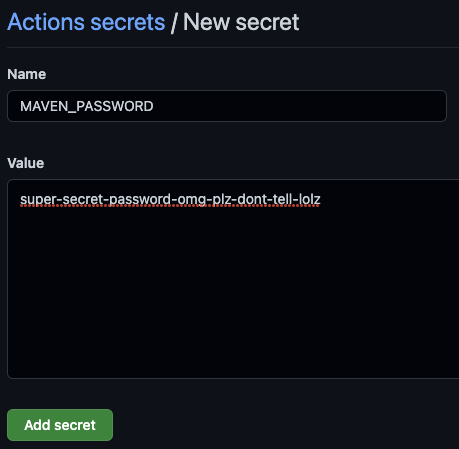
Register for a new account on Sonatypes Jira. The username and password can be immediately added to your Github repos project secrets
MAVEN_USERNAMEMAVEN_PASSWORD
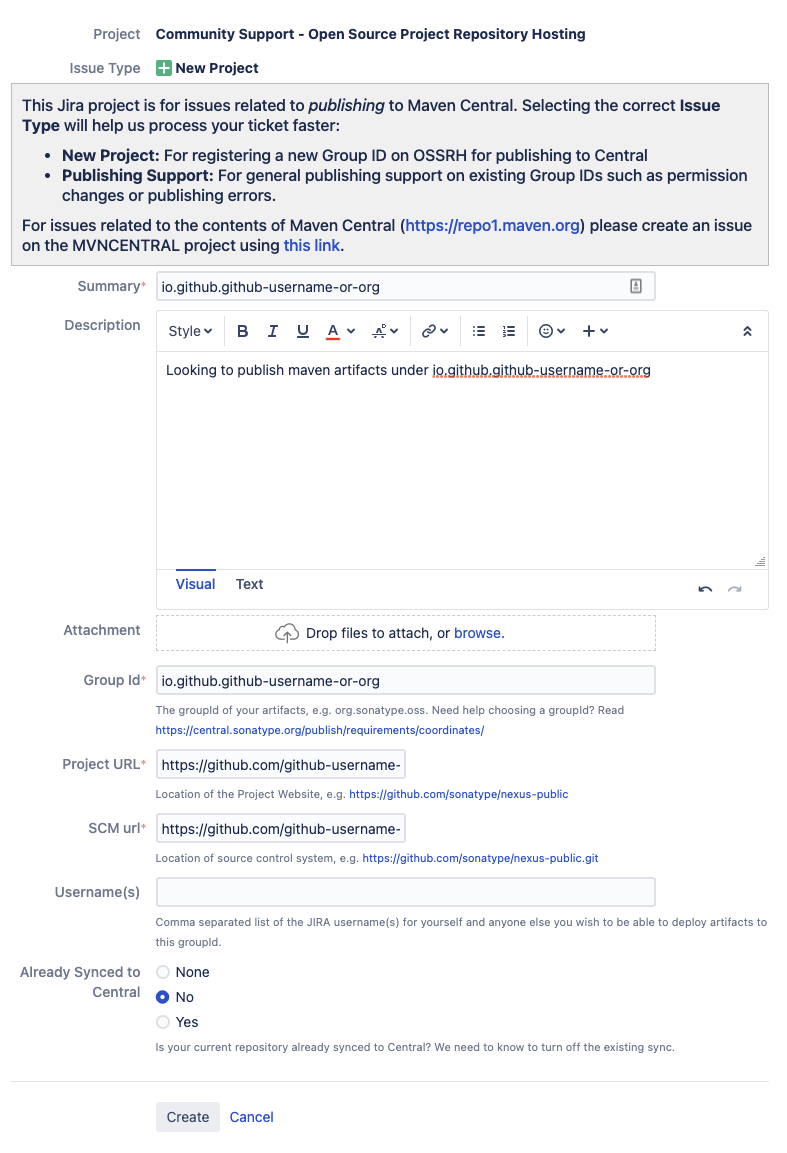
While logged in, create a new issue using this link.
Add the following required fields:
- Summary - Register io.github.github-username-or-org
- Group Id - io.github.github-username-or-org
- Project URL - https://github.com/github-username-or-org/my-project
- SCM url - https://github.com/github-username-or-org/my-project
- Username(s) - Enter your Jira username you just created
Click Create
Within a few minutes, the issue will be updated with comment asking you to create a new public Github repository named after the Jira issue ID to validate you own the github username or org.
Once you’ve completed this step, go back to the Jira issue, and click the Respond button on the ticket.
After a few minutes, the Jira issue will be updated showing that all has been completed.
Get staging profile ID
Once the Jira issue has been completed, navigate to Nexus and log in using the same credentials you used to create your Jira account.
Once logged in, click Staging Profiles on the left side, and you should see your profile.
Click your profile, and notice address bar on your browser now includes the staging profile id.
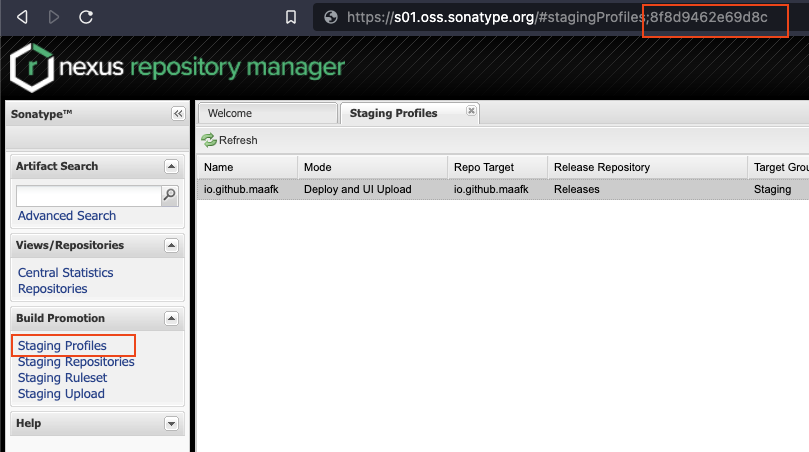
Copy this ID, and add to your Github repos project secrets as MAVEN_STAGING_PROFILE_ID

Generate GPG key
You’ll need a GPG key to publish to Maven Central
Install GnuPG.
Generate your key:
gpg --full-generate-key
- key type: RSA (sign only)
- keysize: 4096 bits long
- expiration date: 0
- Real name: some-name-to-identify-this-key
- Email address: optionally add
- Comment: optionally add
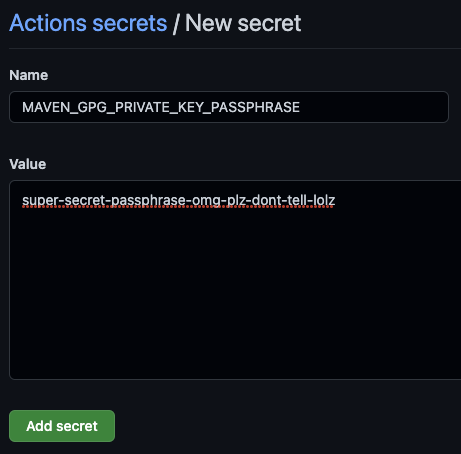
- Passphrase: passphrase for your key. This will be saved to
MAVEN_GPG_PRIVATE_KEY_PASSPHRASEin Github Secrets.
Once GPG key has been created, add the passphrase to Github secrets
Now, export and publish the public key:
gpg -a --export > public.pem
Go to https://keyserver.ubuntu.com/ and submit the public key.
You can use cat public.pem and copy/paste it into the “Submit Key” dialog.

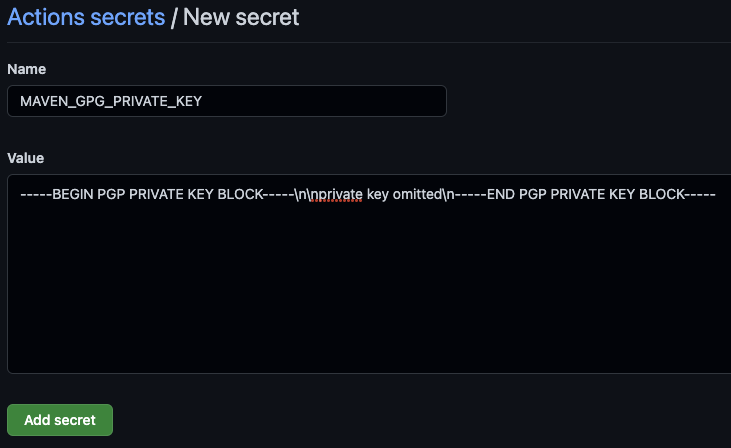
Now export the private key:
gpg -a --export-secret-keys your-identifier > private.pem
Now convert the private key to a single line where newlines are encoded as \n
echo $(cat -e private.pem) | sed 's/\$ /\\n/g' | sed 's/\$$//'
Take the output of this, and add a Github secret MAVEN_GPG_PRIVATE_KEY to the repository
you’re now set up to publish to Maven Central!
More details found in the publib README
Go
In .projenrc add the publishToGo property to your project
const project = new awscdk.AwsCdkConstructLibrary({
  // other properties left out
  publishToGo: {
    moduleName: 'github.com/github-username-or-org/repo-name',
  },
});
Golang is the simplest, and only requires creating a Github Personal Access Token, and adding to the Github repository secrets.
Create Personal Access Token
Follow instructions here, create a personal access token (PAT) with the repo scope selected.
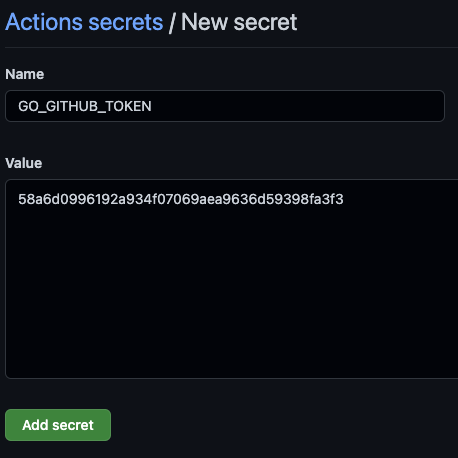
Copy this PAT, and add it to your Github repos Secrets as GO_GITHUB_TOKEN (this PAT is fake)
Now the projen github workflow will handle all steps to make this project available to be used for Golang projects
More details found in the publib README
All complete
Once these changes are committed and pushed to Github, you’ll see the release taking place on the Actions tab